Okay friends, it’s time for some more fermentation, and a little bit of foraging. This recipe for ramsons kimchi was inspired by my friend and awesome forager and fermentation guru Agata. She showed us an incredible ramsons/ramps/wild garlic spot in the woods not far from our home last year and this year we thought we’d show you guys. We took our filming equipment to the forest to show you our spot, and how to then make the kimchi, in the video above where I also give some handy tips on where to find ramsons and how to indentify it.
Ramsons is best in the spring and for a lot of us the prime time for ramsons has passed. But! I hope you guys will save this recipe for next year and for those of you who live further north than us go check out your woods, maybe the ramsons is still only in buds and not in full bloom. Either way this recipe is yummy and if you don’t have any ramsons on hand you can swap it for a few minced garlic cloves and sliced spring onions and still go ahead and make some.
Kimchi is the Korean national dish and it is a gift to the rest of us out here. It comes in endless varieties, just google it! You can have kimchi fermenting projects for the rest of the year with all the options that are available. It’s great to be inspired by the season in making your kimchi and incorporating the vegetables and flavours you have on hand. I always look at fermentation a little bit as an experiment and enjoy the process. And as you know fermentation is a process, it almost happens over night but not quite, and you will need a couple of days (or more) patience before you can taste your work.
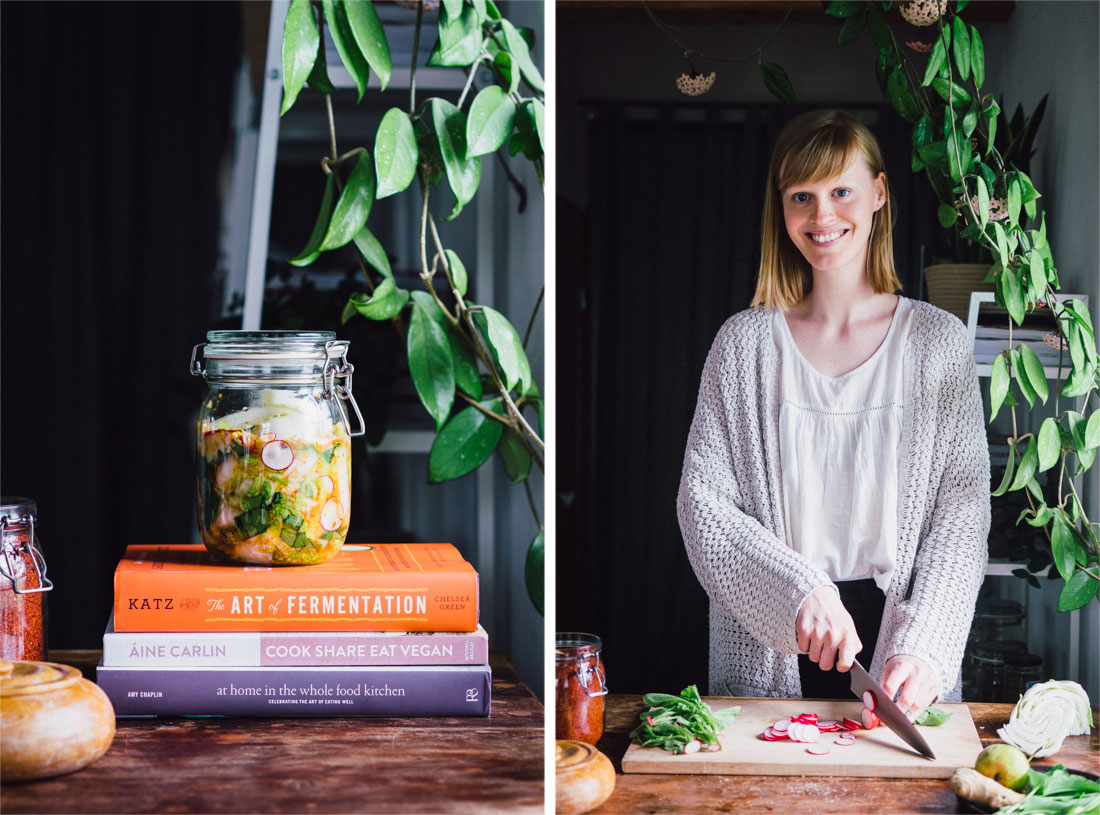
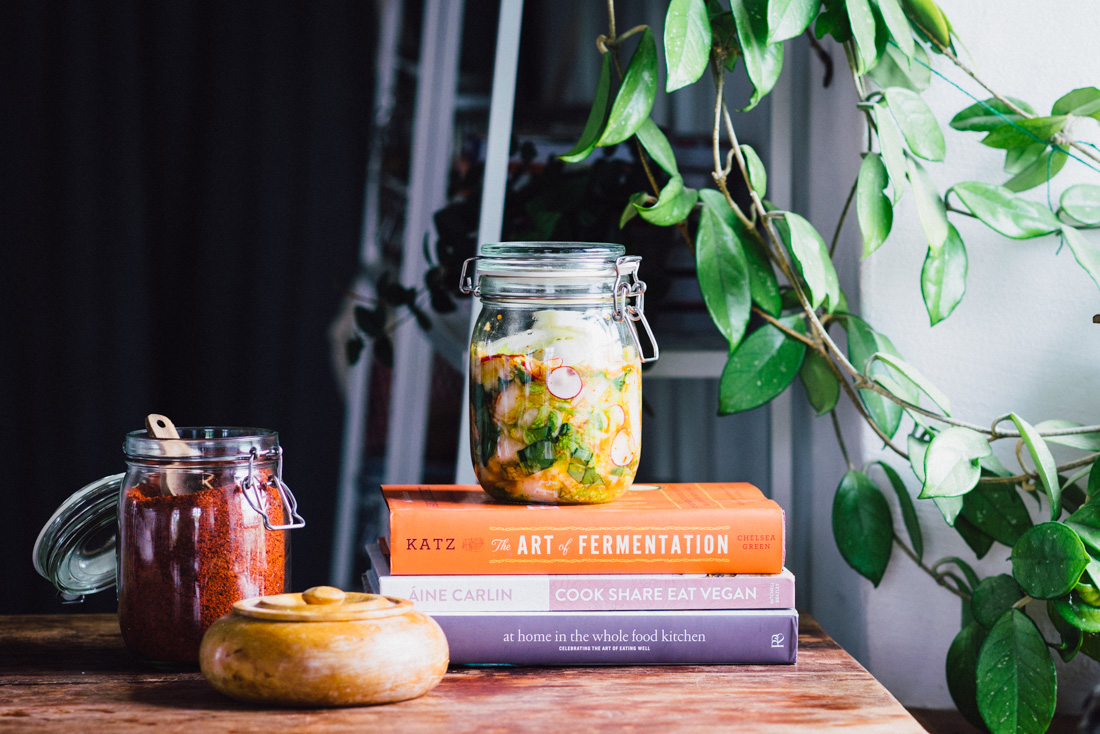
So, before you get into doing this ferment let’s do some talking about prep and trouble shooting to make sure you get the most out of the experience! And before that I want to give you a book tip, perfect for anyone interested in really learning the ins and outs of fermentation. It’s a book called The Art of Fermentation by the man many look up to and turn to for fermentation advice, Sandor Ellix Katz. You can also visit his website here for free insights.
PREPARATION
No. 1
Make sure all your surfaces are clean, wash your hands thoroughly and make sure your jar is very clean. You do not need to sterilise your equipment but if you have a dishwasher you can clean your bowl, any utensils and your jar in it. Otherwise soap and hot water do fine.
No. 2
Figure out a good spot to keep your ferment. It should be a warm place, but not hot, and out of direct sunlight.
No. 3
Make sure you have all your ingredients and some time to spend in the kitchen on your first day preparing the kimchi.


TROUBLE SHOOTING
Before I start this section I would just like to say that while fermentation can sound a little freaky, bacteria and all, it really is pretty straight forward and safe. If you want to try fermenting but have been unsure about it because of the bacteria aspect I encourage you to let go of that fear and give it a go. It’s fun, flavoursome and fantastic! But let’s talk about questions you might have as you have a go just to make sure you’re on the safe side.
How do I know when my ferment is done?
This is one of the beauties of fermentation; it’s up to you! After a couple of days of fermenting you can start smelling and tasting your ferment to see what’s cooking in there and when you like the result you pop it into the fridge. The colder temperature will slow down the ferment and you can store it there, where it will continue to mature slowly, for several months. Some even say for years!
How do I know if my ferment has gone off and is not edible?
Believe me, you’ll know! An off ferment has a really strong, unpleasant, smell and taste. You won’t even want to taste an off ferment in my experience. It can also have a chemical smell to it which definitely means it’s off. It has only ever happened to me once so don’t worry. Also if you see mold in your ferment I’d refrain from eating it.
Why is my ferment bubbly and how come everything seems to get pushed up in my jar?
Bubbles and rising is totally normal and means your ferment is active as gases are produced during the fermentation process. You will want to get rid of those bubbles though as that’s where potential nasty bacteria can fester. The easiest way in my opinion is just to grab a utensil or with clean hands carefully push the vegetables back under the surface of the liquid, removing any air bubbles. You don’t have to do this constantly but once a day is okay as you don’t want to be opening your jar too often.
The liquids in my ferment are seeping out of the jar, what should I do?
It can happen during fermentation that a lot of liquid is released from the vegetables. With the salting and soaking technique of this recipe that should not be a problem however. If you nonetheless end up with too much liquid simply open the jar and remove the excess liquid. Make sure when you fill your jar in the first place that you have sufficient head space to avoid this happening, an inch or two is perfect.
Overall as long as your ferment smells and tastes good – you’re good!
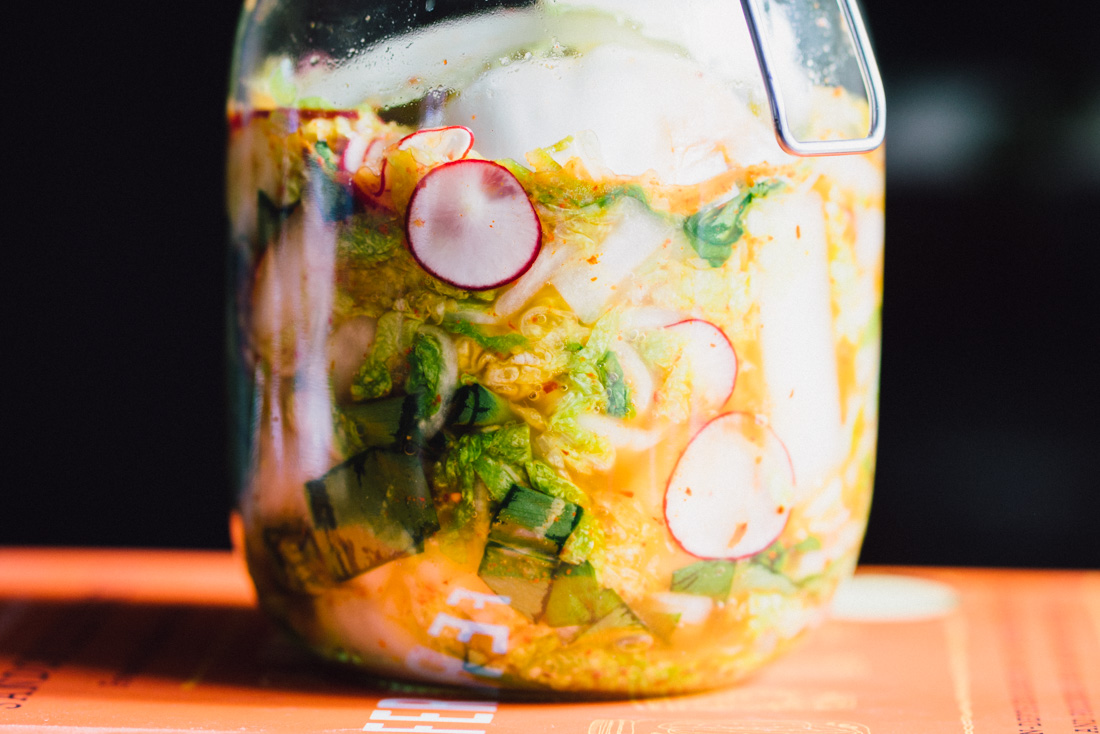
RAMSONS/RAMPS/WILD GARLIC KIMCHI
INGREDIENTS:
YIELDS: about a 1 liter jar
1 medium sized napa/chinese cabbage, halved and cut into inch wide slices
3 tbsp sea salt
5 cups cold water
15 medium sized ramsons leaves, roughly sliced
5 radishes, sliced
1/4 pear, grated
1 thumb sized piece of ginger, grated
1 tbsp gochugaru (korean red chilli pepper powder)
METHOD:
Place your sliced napa cabbage in a large mixing bowl and sprinkle salt over it while moving it around. Spread the salt evenly over the cabbage while giving it a gentle massage, it should all shrink slightly and become more compact. Pour your cold water over the cabbage and cover with a plate to push it into the water, if you wish you can also add a weight to really push the cabbage down here, and set aside for 2-3 hours to soak and give off any excess water.
While the cabbage is doing it’s last bit of soaking you can prepare the flavouring for the kimchi by mixing all the other ingredients in another mixing bowl (big enough that you can then add the napa cabbage in with the mixture).
When your cabbage has finished soaking drain and rinse it thoroughly to get rid of excess salt. Squeeze most of the liquid out of the cabbage and then add it to the bowl with the flavour mixture. Mix it all well to incorporate with the cabbage, you could use your hands to make sure every cabbage piece is covered.
Then press the cabbage mixture tightly into a clean glass jar with an air tight lid. Really press the cabbage down so that it’s immersed in the juices. You can use larger scrap pieces of cabbage here to act as a lid holding the cabbage mixture under the liquid but it’s not necessary. You will need to leave at least an inch of empty space between the kimchi and the lid.
Seal the lid and leave your jar on the counter or somewhere safe out of direct sunlight. You can ferment your kimchi anywhere from 1 to 5 days. Some even ferment it longer. I think 48 hours is good personally.
Check on your kimchi ferment every day pushing it down so that any emerging air bubbles disappear and the kimchi is tightly packed. You can taste it at this point as well and when you are happy with the result you refrigerate your jar and use it for several months, if it lasts that long.
See trouble shooting tips above but as long as your kimchi smells and tastes like food – you’re good!