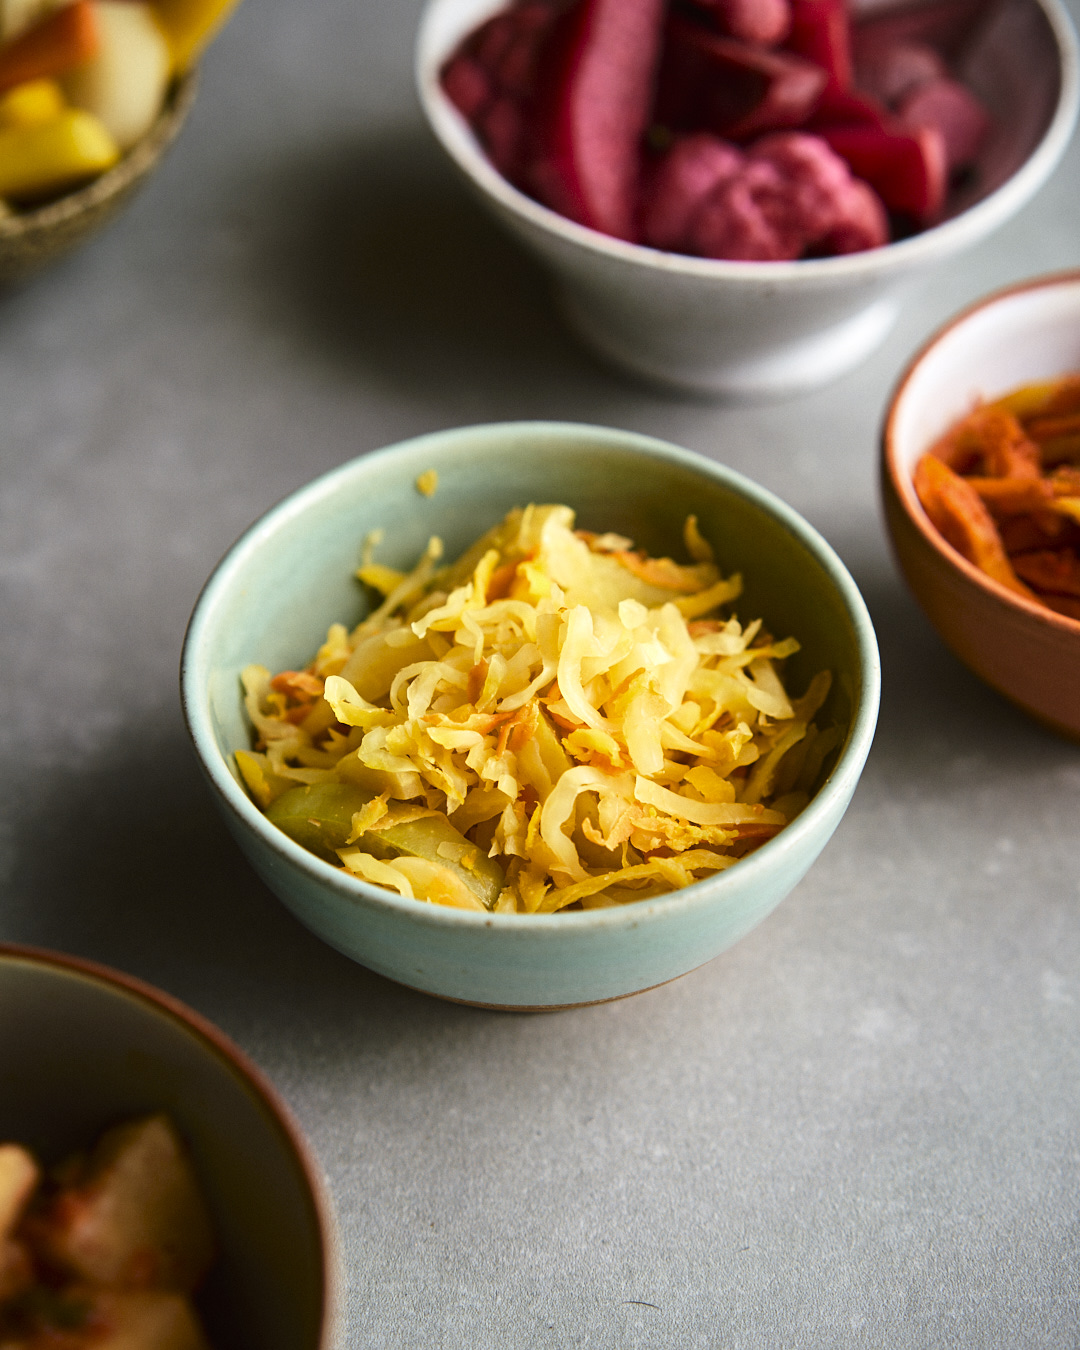
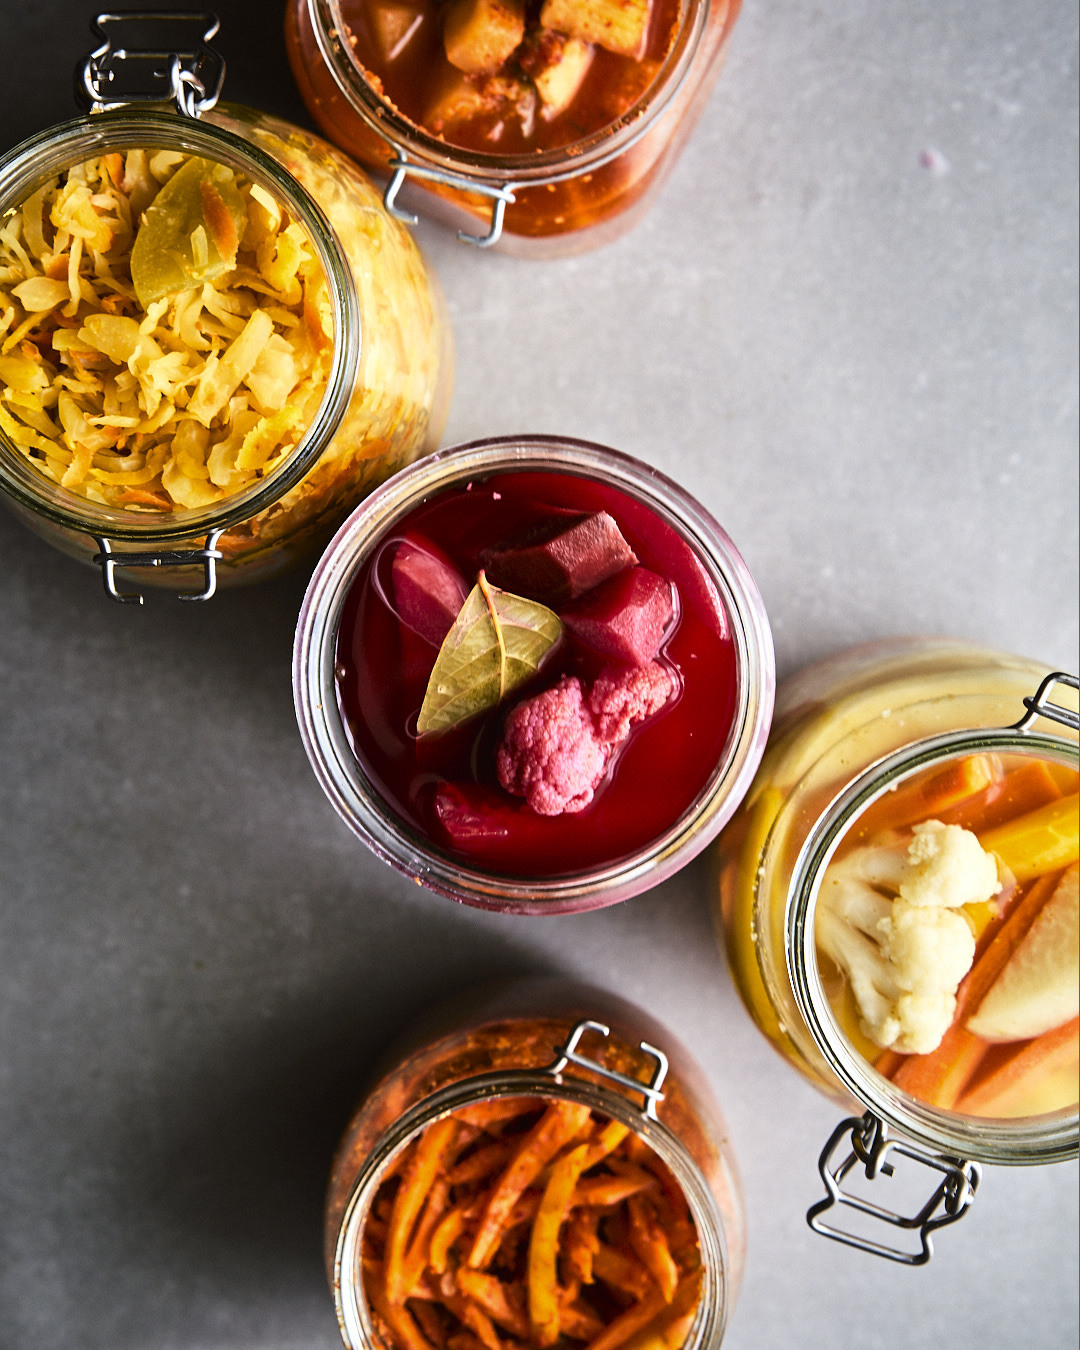
SAUERKRAUT
I’m jumping straight in with this mammoth fermented vegetables post so jump right in with me! The first recipe is for a beautifully sunshine yellow sauerkraut. I think sauerkraut is probably the first thing people think about when you mention fermentation. I think it’s also something most of us have had and many of us have disliked. To those of you who have had a bad experience with some grey-ish sad looking sauerkraut that you fished out of a jar I’d like to say that there’s hope. And lots of it! Often store bought sauerkraut is made with boiled cabbage but here we use raw to start the recipe. Fermenting your own sauerkraut is super fresh and leaves a nice somewhat crunchy texture. It is a technique where you use the vegetables own juices to ferment them in. To spice up this recipe we use ginger and turmeric to flavour and add some carrot and apple for more goodness. You can mix it up any way you like though using different spices, whole or ground, as well as add in vegetables like beet.
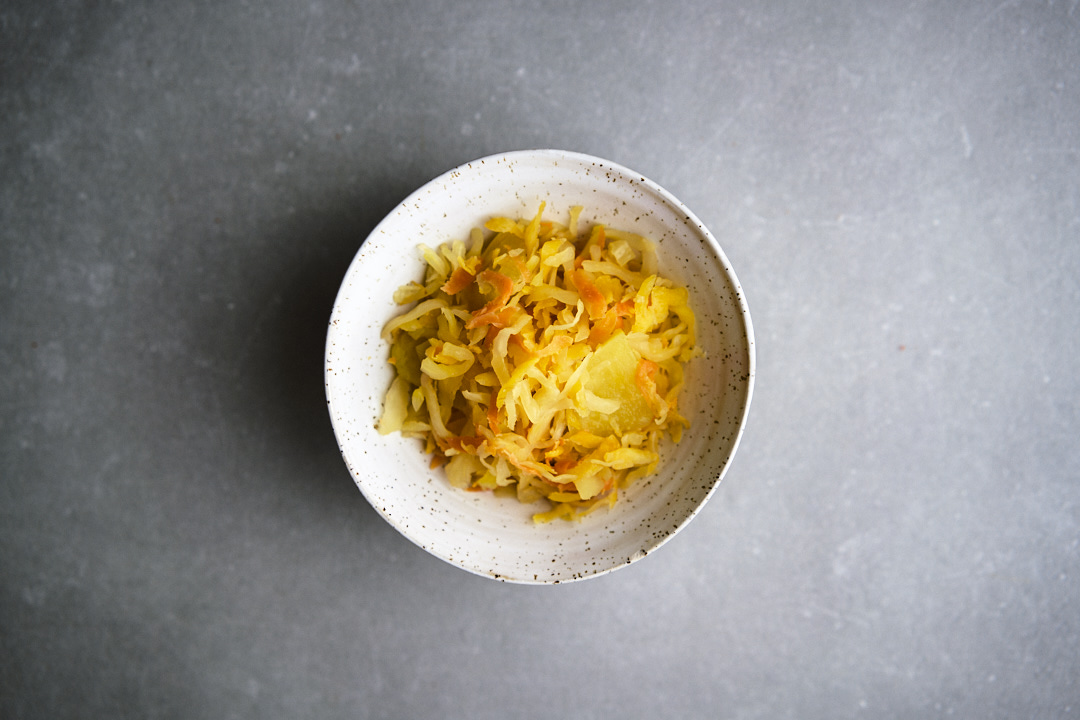
GOLDEN SAUERKRAUT
Yields a 1,8 liter jar.
INGREDIENTS:
1,2 kg cabbage, shredded
24 grams good quality salt
2,5 medium sized carrots, grated
1 apple, chopped into bite sized pieces
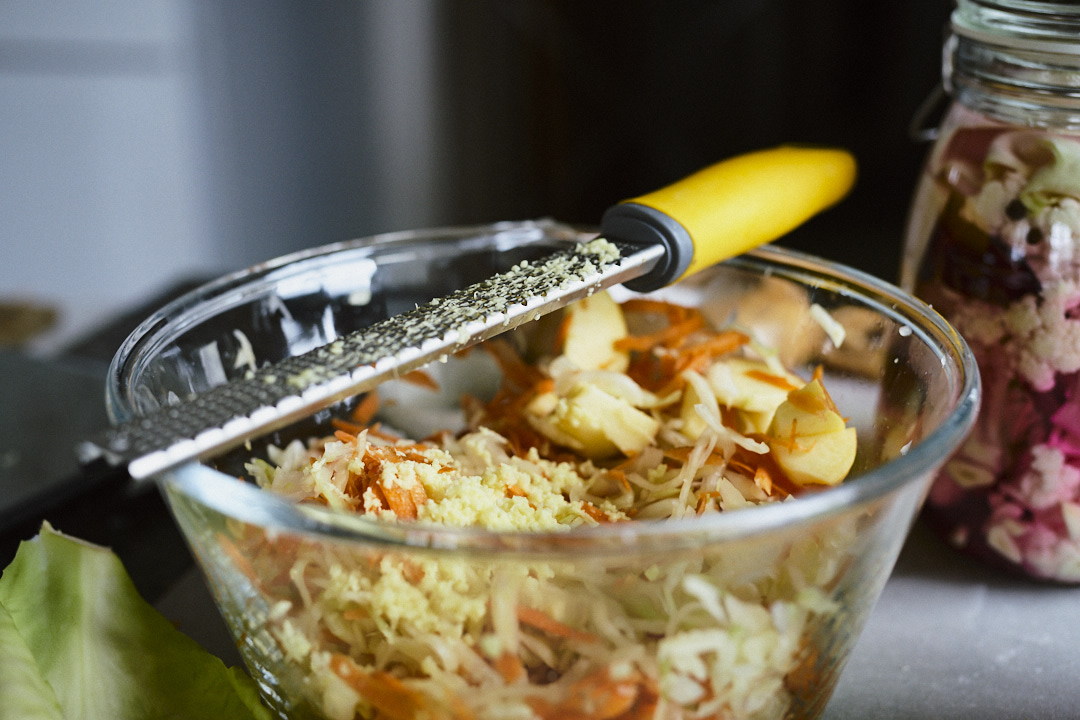
2 inches of a ginger root, finely grated
0,5 inches turmeric root, finely grated
METHOD:
Place your shredded cabbage in a very large or two large mixing bowls and add the salt accordingly. Here you have two options:
- Mix the cabbage and salt well and let sit for 15-30 minutes until the cabbage has released a lot of liquid, then give it a quick massage to squeeze a little more liquid out.
- Massage the salt into the cabbage to break it down until the liquid releases from the cabbage. This can take a little while but before you know it you’ll have plenty of liquid released from the vegetable.
When you have massaged the salt into the cabbage and lots of liquid is released you can add the remaining ingredients and mix well. When adding the turmeric and mixing you could use a glove to protect your hand from turning yellow.
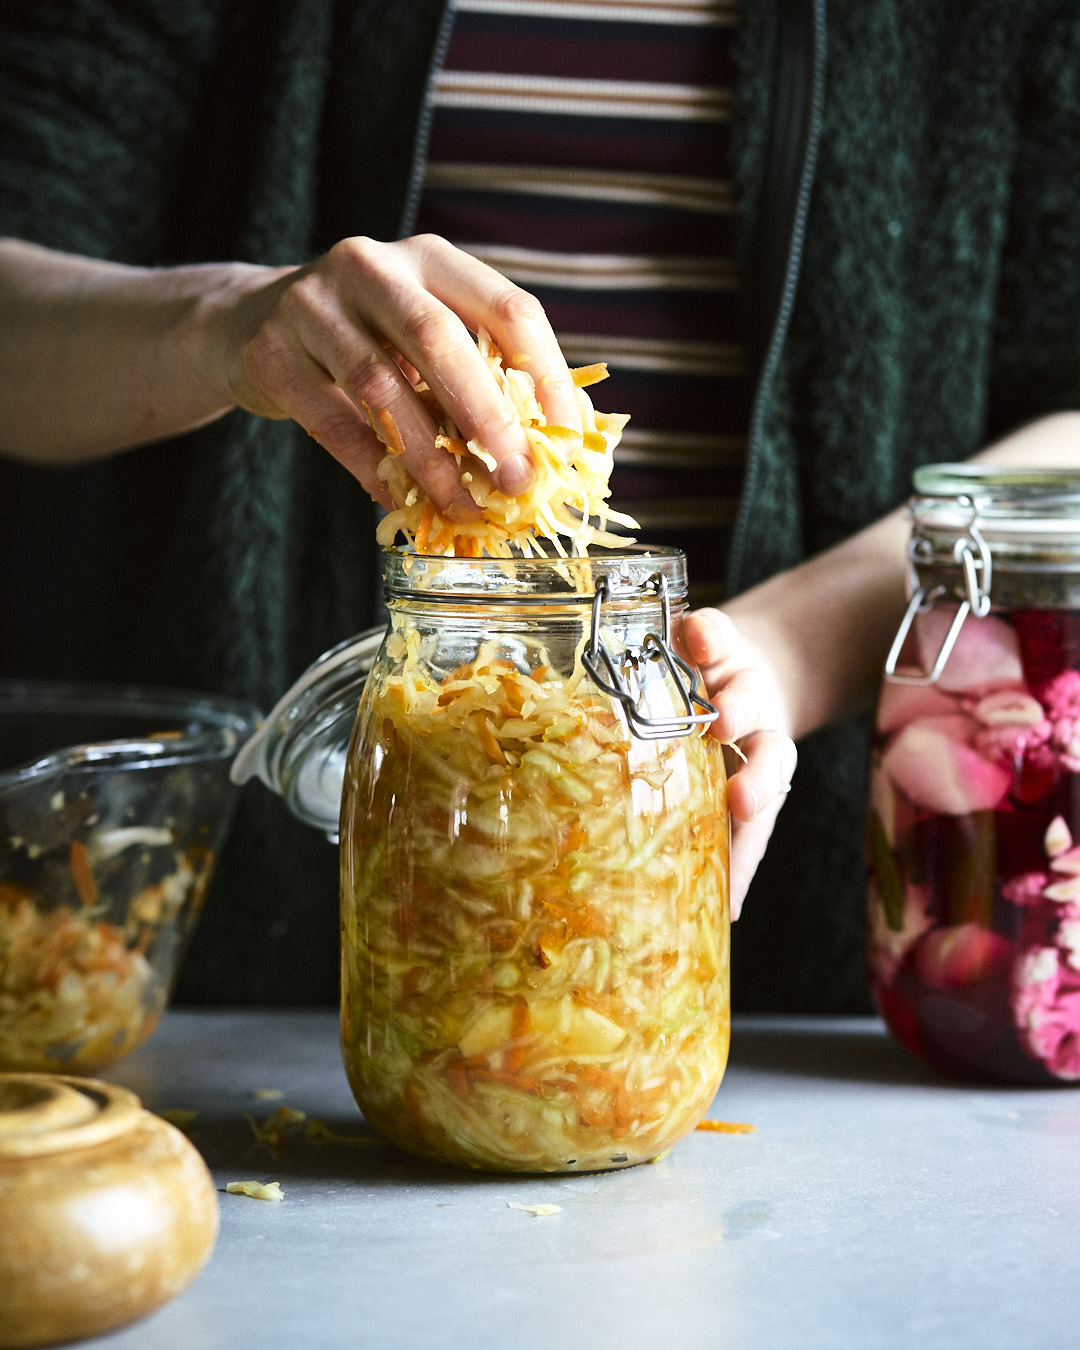
Once thoroughly mixed start placing the vegetable mixture into a clean jar with an air tight lid. Press down firmly as you add your vegetables into the jar, getting rid of any air bubbles in between the vegetables. As you press down the liquid should start rising above the vegetables. It’s important that this happens, if by the end of filling up the jar the liquid is not reaching above the surface of the vegetables you’ll want to pour some in from the mixing bowl where there should be some spare.
When the vegetables are about and inch from the top and the liquid is covering them you’ll want to create a “lid” of some sort or use a weight to make sure your vegetables stay submerged in the liquid. There are stone and ceramic weights made specifically for fermentation or you could use some spare outer cabbage leaves which you fold to fit the opening of the jar. Use a couple of leaves to create a tight lid pressed into the liquid to keep the vegetables below the surface. It is okay if the cabbage leaves are not completely submerged, they are not as sensitive to unwanted bacterial or yeast growth as they have less or no cut surface.
Once the vegetables have been weighed down you can close the jar and place it on a saucer. The saucer will protect your surface from any leaking liquid which can get pressed out of the jar by gas building up during fermentation.
You will want to release gases from the jar once a day for the first few days of fermenting. This is easily done simply by opening the jar, be careful of any squirting liquid, and with a clean hand pressing the weight or cabbage leaf down to press any gas out from air pockets in the vegetables. Close your jar again and repeat until your jar seems to be building up less gas. Usually the ferment is more vigorous in the beginning but if you find it’s very active you might want to keep releasing gas for the duration of your ferment.
Keep the jar in room temperature for 7-14 days. After 7 days of fermenting you can try the vegetables. If you like the taste fridge the jar and start eating away. This will slow the fermentation down and here you can keep the sauerkraut for several months, at least two. If you are not quite happy with the flavour and want it more sour leave the jar in room temperature until you are satisfied with the flavour and the fridge it.
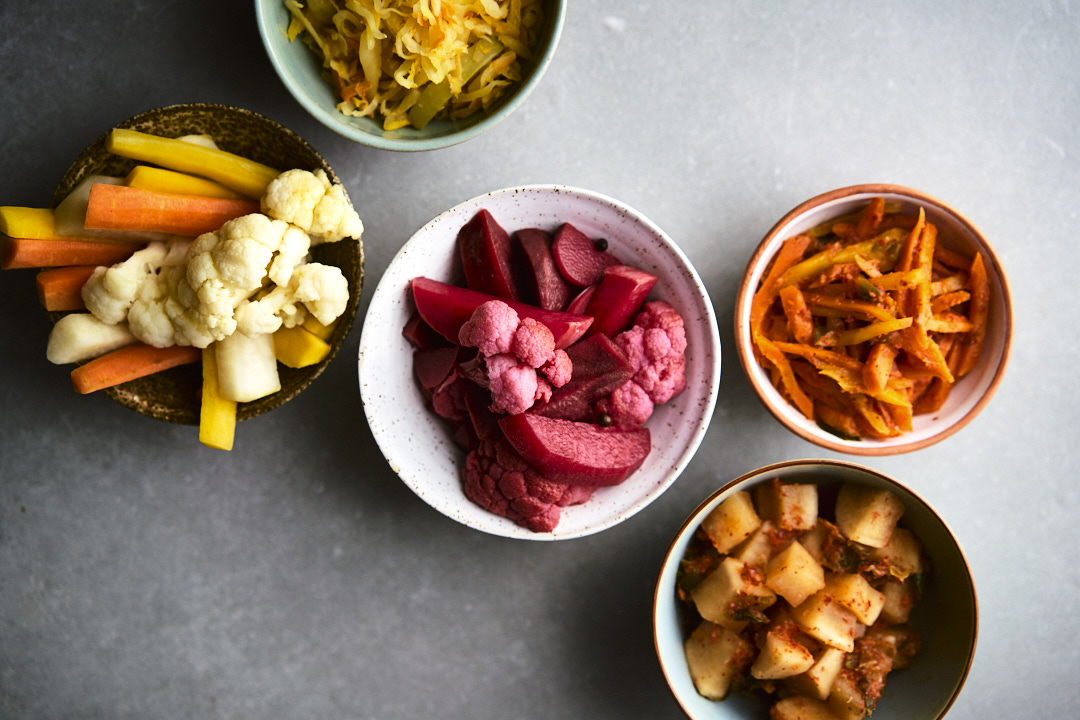
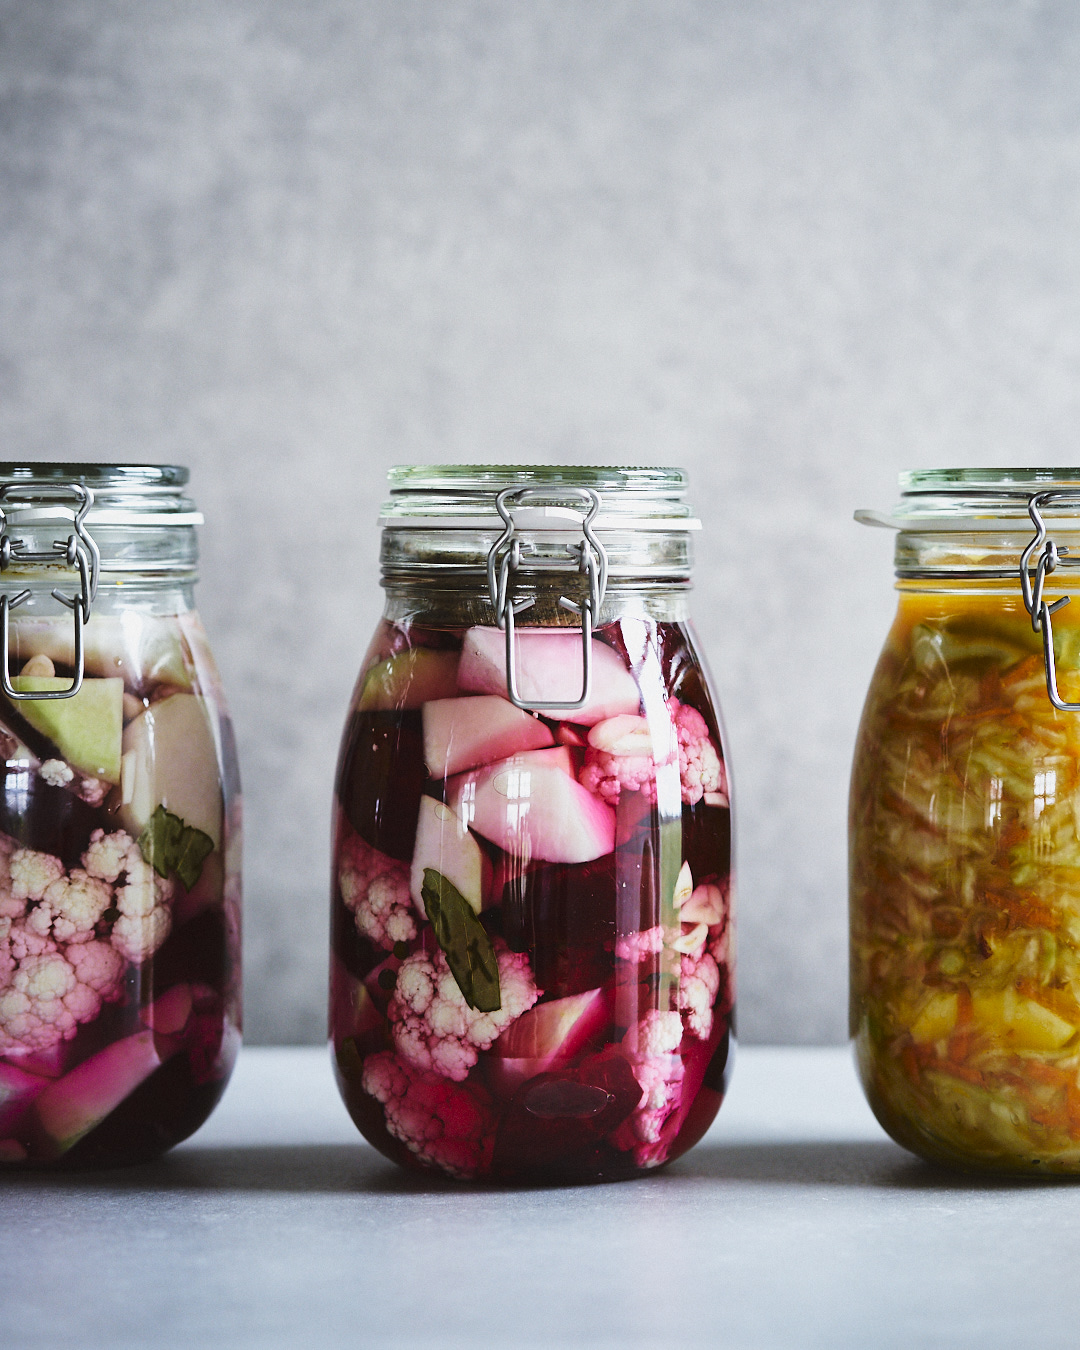
VEGETABLES IN BRINE
I always wondered how to make delicious pickled vegetables. Rob and I tried a conventional pickling recipe for cucumbers once and they came out terrible. Now my faith in my pickling ability is back with these super easy and super delicious fermented pickle recipes. Who knew it could be this easy to make pickles?! I’d say any hard and more or less mild vegetables like beets, turnips, kohlrabi, cabbage and carrots are awesome for these recipes. You can mix and match any way you like to create vegetable magic. A little bit of water and salt to make the easiest brine, whatever flavour enhancers you might like along with your veggies cut into chunks and you’re all set.
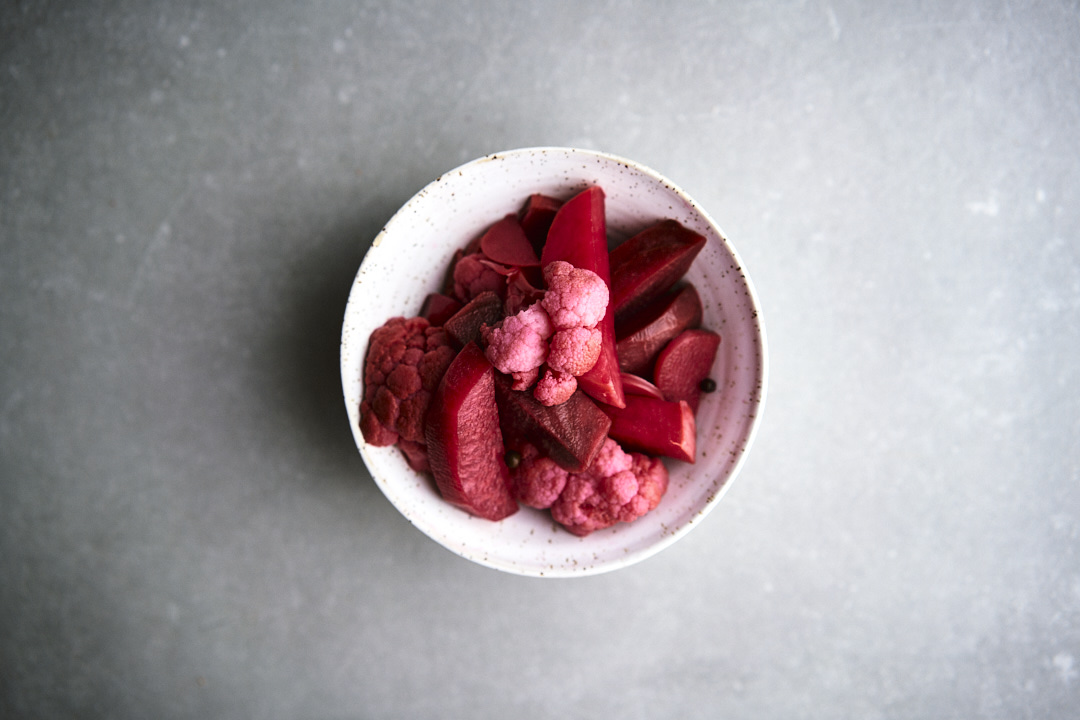

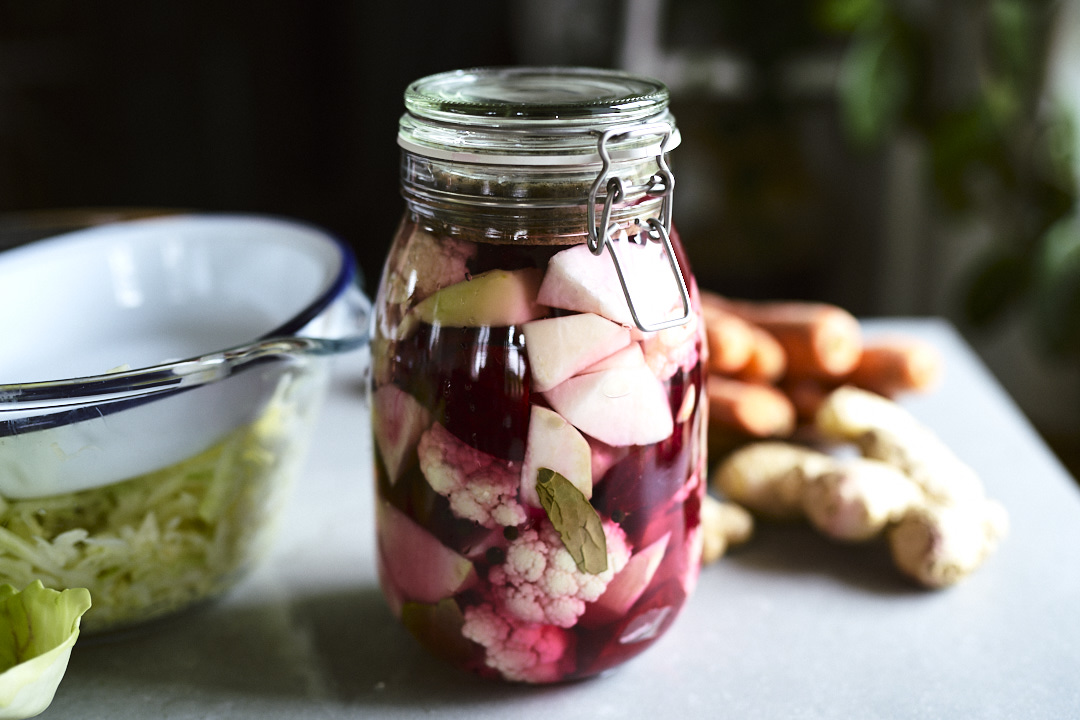

PINK PICKLED VEGETABLES
Yields one 1,8 liter jar full.
INGREDIENTS:
1 beetroot, peeled and cut into chunks
1 kohlrabi, peeled and cut into chunks
1 turnip, peeled and cut into chunks
Roughly a quarter cauliflower, cut into florets
1 small head of garlic, peeled roughly sliced
4-5 bay leaves
5-10 whole all spice
0,8 liter water
12 grams of good quality salt
METHOD:
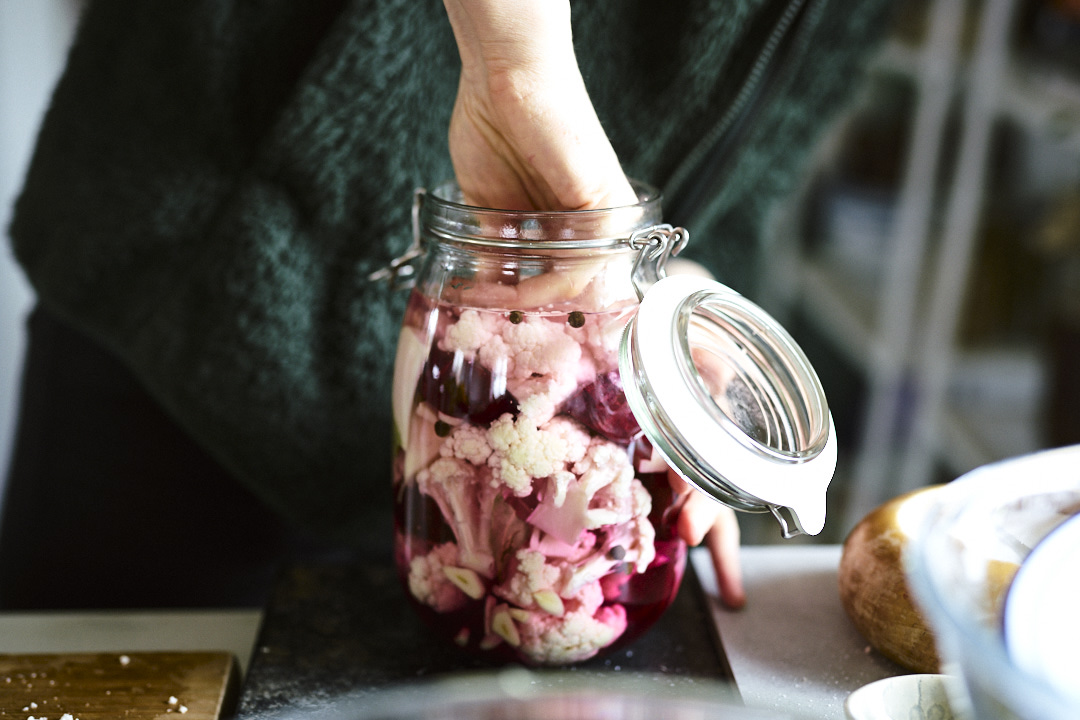
Place your cleaned and cut vegetables as well as bay leaf and all spice in your jar. You can layer and mix them as you like. Press down as you go along adding the vegetables to make room for more.
Prepare your bring by mixing your water with your salt in a jug until the salt is dissolved. Pour over your vegetables making sure they are covered. If not prepare some more brine. You will want to use 1,5-2 per cent salt to any amount of water.
When the vegetables are covered by the brine you will want to weigh them down somehow. You can use ceramic or stone weights crafted for fermentation or you could create a lid from some cabbage leaves. If so fold a couple of cabbage leaves to fit in the opening of your jar. Press them down into the brine to cover the vegetables and keep them submerged. It is okay if the cabbage leaves stick up over the surface as long as the vegetables stay submerged.
Close your jar and place on a saucer. The saucer will protect your surface from any leaking liquid which can get pressed out of the jar by gas building up during fermentation.
For the first few days or even for the duration of your ferment if you deem it necessary you will want to release gas from your jars. Simply open your jar carefully, be aware of any squirting liquid as this sometimes happen during vigorous fermentation. Then press down on your weight or cabbage leaf lid to push out more gas from pockets created between the vegetables. Then close your jar again and repeat until you find there’s not a surplus of gas building up.
Place the jar and saucer in room temperature where you can keep an eye on it for 9-14 days. After 9 days you can taste your fermented pickles and if you are satisfied with their flavour and sourness you can place them in the fridge to slow down the fermentation. You can keep them in the fridge for several months, at least two. If you are not satisfied with the flavour profile of your ferment after the initial 9 days you can keep fermenting in room temperature until you’ve reached your desired taste and the fridge it.
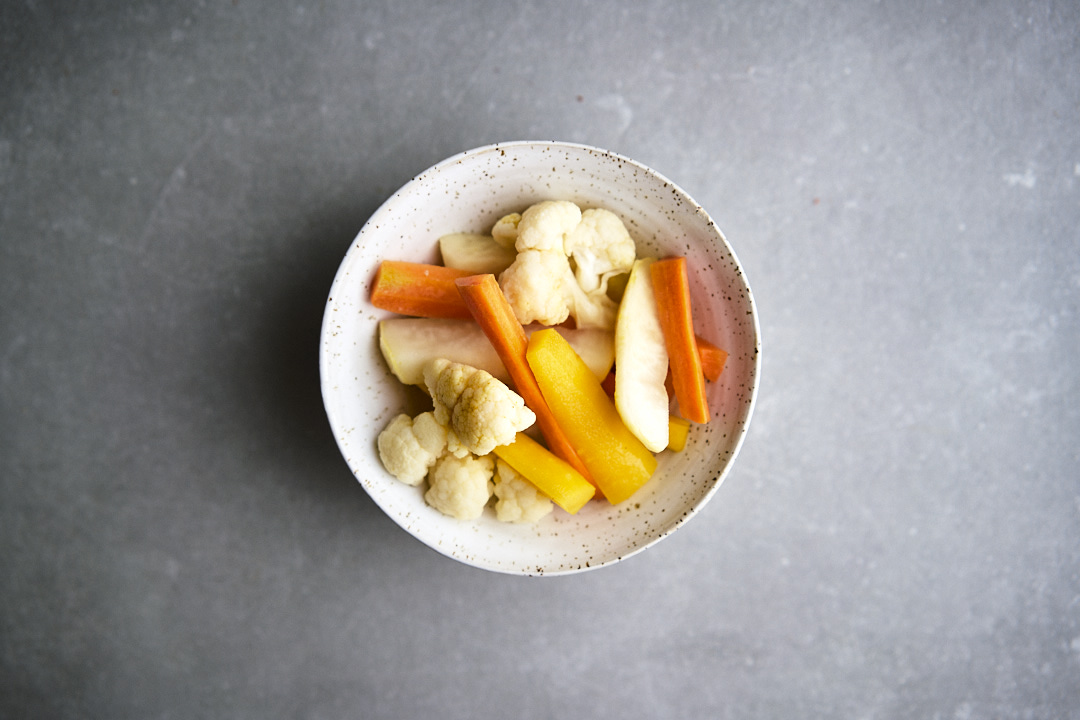
VEGETABLES IN BRINE: CURRY SPICED PICKLES
Yields one 1,8 liter jar full.
INGREDIENTS:
2-3 carrots, cut into sticks
1 kohlrabi, peeled and cut into chunks
1 turnip, peeled and cut into chunks
Roughly a quarter cauliflower, cut into florets
2 tbsp curry powder
0,8 liter water
12 grams of good quality salt
METHOD:
See previous recipe method and apply procedure but use the listed vegetables and spices for this recipe in place of the previous ones.
MIXED CULTURE FERMENTATION: KIMCHI
Kimchi, kimchi, kimchi (insert dreamy eyes emoji). This last section of this post is dedicated to these pungent yet delicious vegetable ferments that originate from Korea. This technique is a combination of fermenting in the vegetables own juices and a brine. Basically it’s a combination of the two techniques covered above which is pretty exctiting. At least for a food geek like me. The beautiful thing here though is that when making the brine part we pack in lots of flavour using onion, garlic, ginger and gochugaru. “Now what’s gouchugaru?!” is what I know many of you are thinking and it’s Korean spicy red pepper flakes. But you can use any chili flakes or powder you like to substitute and use the amount that you enjoy.
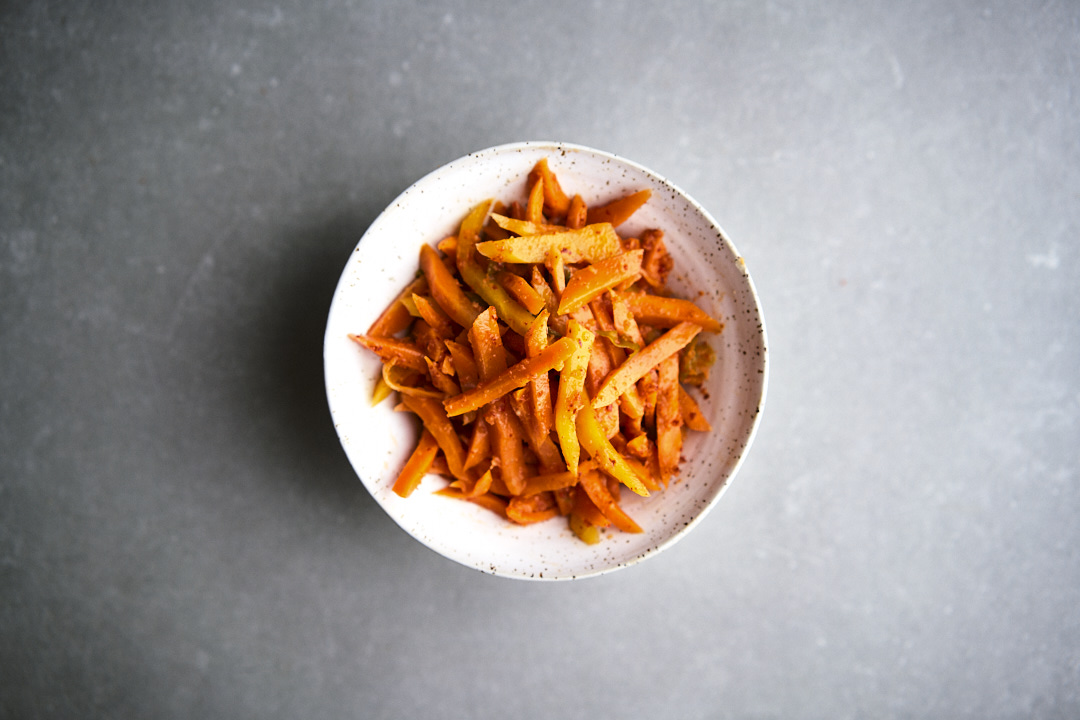
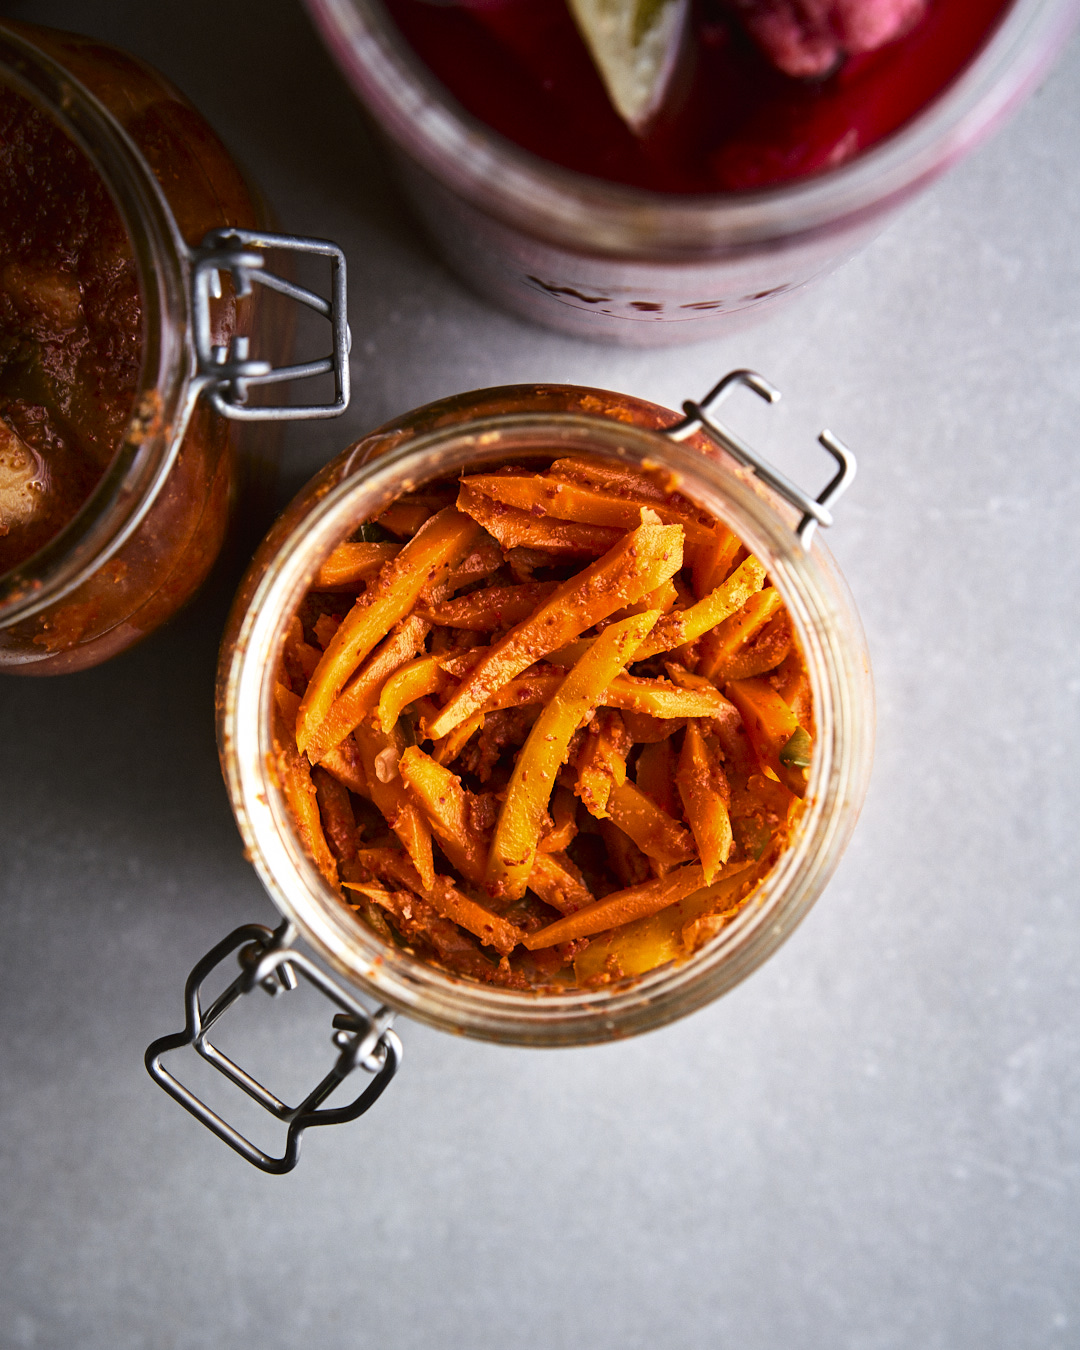

KIMCHI INSPIRED CARROT STICKS
Yields one 1 liter jar full.
INGREDIENTS:
700 grams carrots, cut into matchsticks
10-11 grams good quality salt
2 spring onions, sliced
0,5 brown onion, roughly chopped
0,5 head of garlic, roughly chopped
1,5 inches ginger root, roughly chopped
1-3 tbsp gochugaru (korean spicy red pepper flakes) or other chili of your choice
0,5 cup water + 2 grams good quality salt
METHOD:
Place your carrot and salt in a mixing bowl and mix well. Give your carrots a squeeze and set to one side.
Place onion, garlic, ginger as well as water and salt in a hand blender bowl and then blend until more or less smooth.
Add your spring onions to the carrots and pour over your spiced brine mixture as well. Give it all a good mix and then let sit for 30 minutes. This will allow the vegetables natural juices to release which will add to the water you’ve poured on a liquid for your jar.
After 30 minutes give your veggies a good squeeze and then you can start putting your vegetable mixture into a clean jar. As you add little by little press the vegetables firmly down to remove any air bubbles between the layers and pieces. Continue like this until your vegetables are roughly an inch from the top of the jar. The liquid from the vegetables and brine should be covering the surface of your vegetables, if not pour in excess liquid from your mixing bowl where there usually is some extra.
For these kimchi recipes Agata taught me not to use a weight or a cabbage lid as we ferment them for a shorter amount of time. If you have a stone or ceramic weight feel free to use it though.
Then close up your jar and place it on a saucer. Keep it in room temperature somewhere you can keep an eye on it for 2-3 days or until it has reached your desired flavour profile.
Release gases from your jar each day by opening the lid and pressing down on your vegetables with clean hands. Press the vegetables firmly down until they are covered by the liquid. Close the jar and return to it’s fermentation spot.
After 2 days you can taste your carrots and if they are to your liking place them in the fridge and start eating away. You can keep these in the fridge for a few weeks, at least 3. If you are not happy with the flavour after 2 days keep fermenting at room temperature and taste each day when you release the gases until your satisfied with the taste. Then keep in fridge to slow down fermentation as you enjoy.
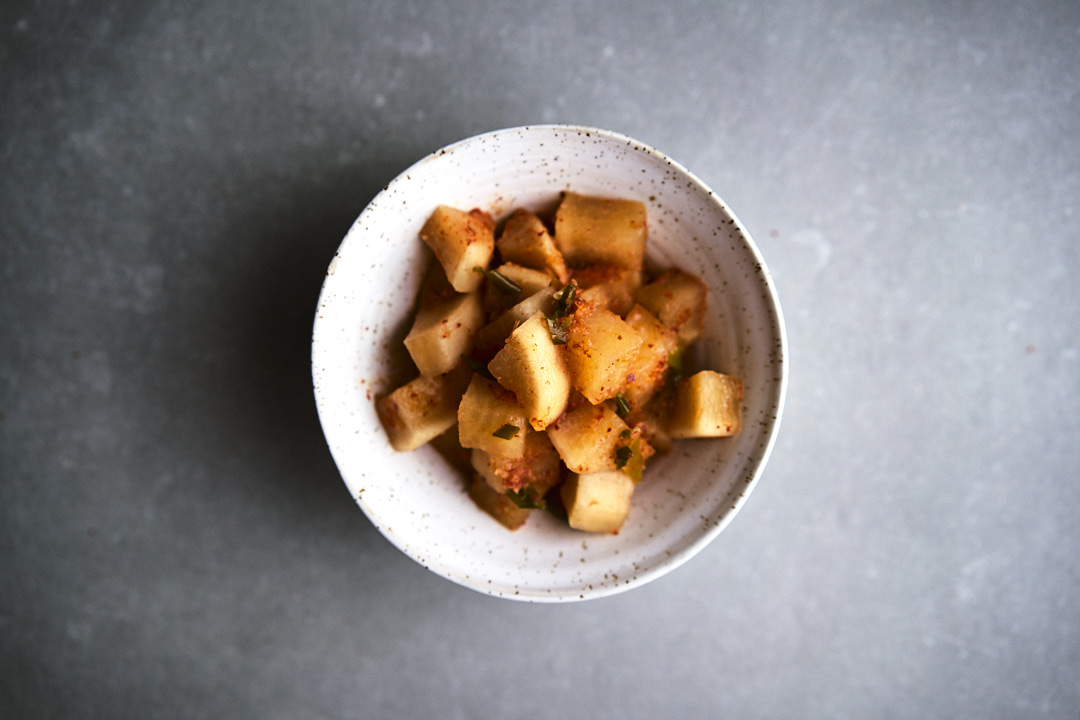
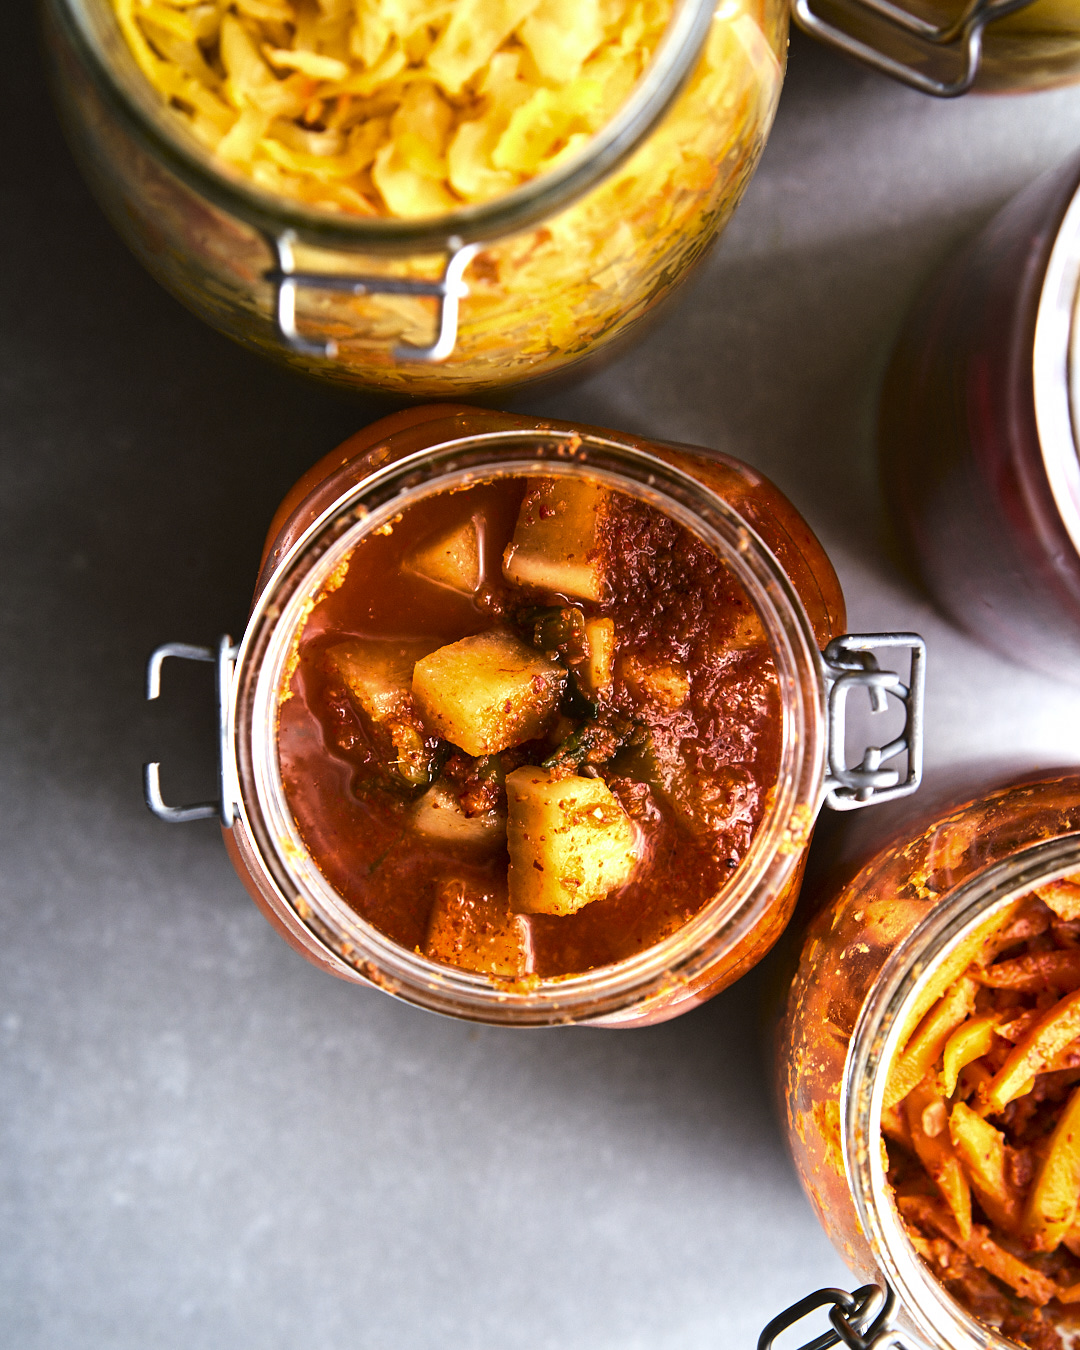
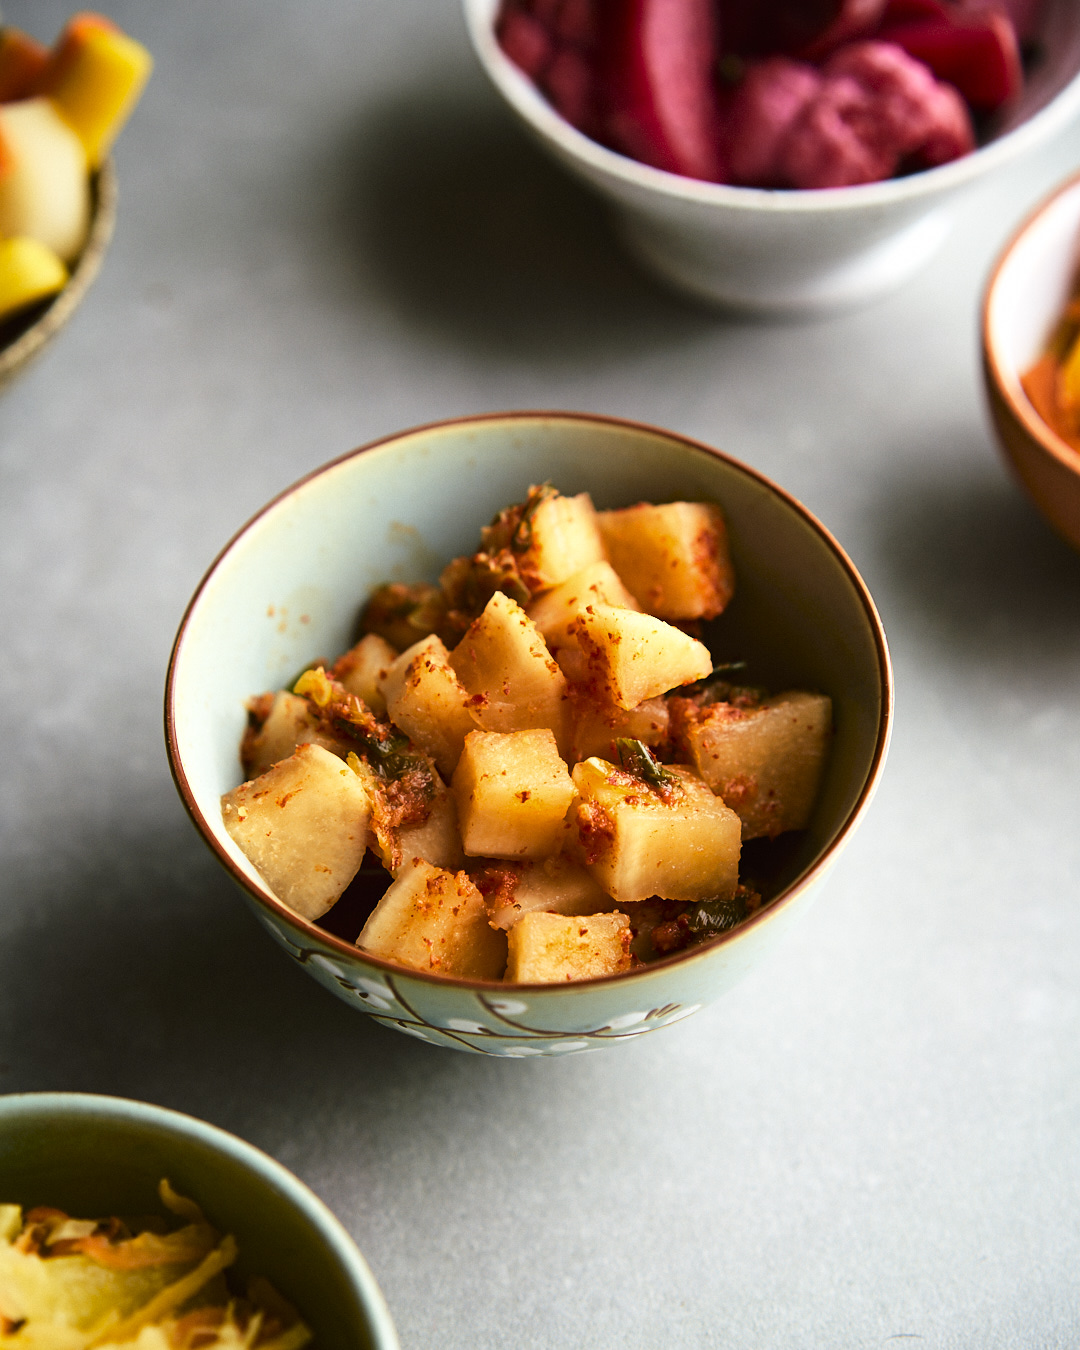
DAIKON RADISH KIMCHI
Yileds one 1 liter jar full.
INGREDIENTS:
700 grams daikon radish, cut into cubes
10-11 grams good quality salt
2 spring onions, sliced
0,5 brown onion, roughly chopped
0,5 head of garlic, roughly chopped
1,5 inches ginger root, roughly chopped
1-3 tbsp gochugaru (korean spicy red pepper flakes) or other chili of your choice
0,5 cup water + 2 grams good quality salt
METHOD:
See previous recipe and follow the same procedure swapping carrots for daikon radish.


Thank you so much for this, it’s wonderful! I’ve been meaning to give fermenting a try for a while now and Agata and your guide have finally given me the confidence and the motivation to get going. The pictures are just stunning!
The golden cabbage with apples is delicious. Thank you!